toyota sewing machine user manual
The Toyota Sewing Machine user manual serves as your comprehensive guide to understanding its features, ensuring proper usage, and maintaining optimal performance for both beginners and experienced users.
1.1 Overview of the Toyota Sewing Machine
The Toyota Sewing Machine is a versatile and reliable appliance designed for both home and professional use. Its user-friendly interface and durable construction make it ideal for sewing various fabrics. The machine features multiple stitch options, easy threading mechanisms, and adjustable settings to cater to different sewing needs. Regular maintenance, as outlined in the manual, ensures optimal performance and longevity.
1.2 Importance of the User Manual
The user manual is essential for understanding the Toyota Sewing Machine’s features, safety guidelines, and maintenance requirements. It provides step-by-step instructions for threading, troubleshooting, and optimizing performance. By following the manual, users can avoid common mistakes, ensure proper usage, and extend the machine’s lifespan. It serves as a vital resource for both beginners and experienced sewists, promoting safe and effective operation.
Safety Precautions
Always follow safety guidelines to ensure safe operation. Avoid electrical hazards, keep sharp objects handled carefully, and maintain a clean workspace to prevent accidents while sewing.
2.1 General Safety Guidelines
Always prioritize safety when using the Toyota Sewing Machine. Ensure the machine is placed on a stable surface and keep loose clothing or long hair tied back. Avoid operating the machine if fatigued or under medication. Regularly inspect the machine for damage and ensure all parts are securely fastened. Maintain a clean and well-lit workspace to minimize risks. Keep children and pets away while sewing. Turn off the machine before servicing or adjusting any parts.
2.2 Electrical Safety Tips
Ensure the sewing machine is plugged into a grounded electrical outlet to prevent shocks. Avoid using damaged or frayed power cords, as they can pose a fire hazard. Never operate the machine in damp environments or expose it to water. Turn off the power switch before cleaning or performing maintenance. Keep the machine away from flammable materials and avoid overloading circuits with additional appliances. Regularly inspect the power cord and replace it if damaged.
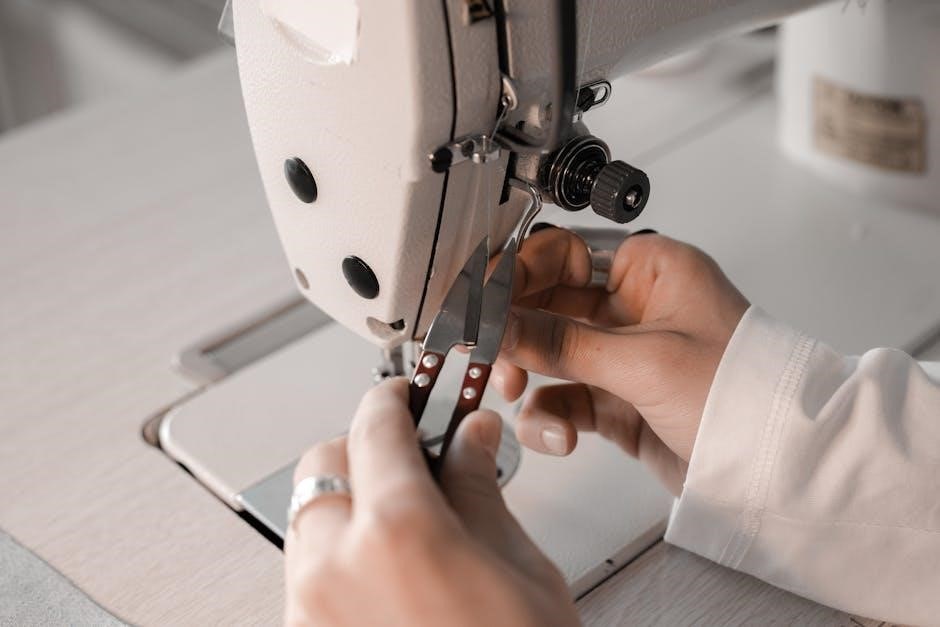
2.3 Proper Handling of Sharp Objects
Always handle needles, scissors, and rotary cutters with care to avoid injury. Use a needle inserter tool to guide and secure needles, preventing accidental pricks. Store sharp objects in a protective case or container when not in use. Avoid touching the sharp edges of sewing tools, and ensure they are out of children’s reach. Regularly inspect tools for damage and replace them if worn or dull to maintain safety and performance.
Machine Parts and Accessories
The Toyota sewing machine comprises essential parts like the bobbin, presser foot, and spool pins. It comes with accessories such as extra needles, bobbins, and a dust cover for maintenance.
3.1 Identification of Key Components
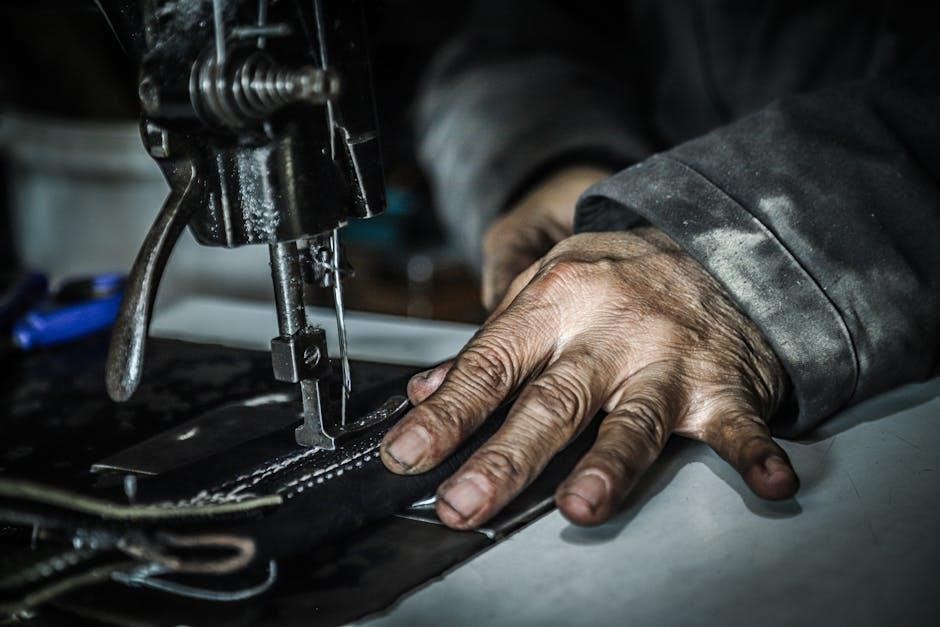
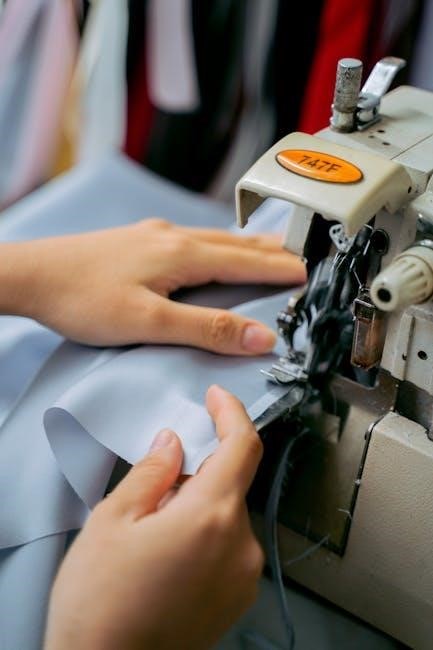
Familiarizing yourself with the Toyota sewing machine’s components is essential. Key parts include the spool pins, bobbin case, presser foot, and stitch selectors. The handwheel controls needle movement, while the tension dials regulate thread tightness. Understanding each part’s function ensures proper operation and helps in troubleshooting common issues, making your sewing experience more efficient and enjoyable overall.
3.2 Accessories Included with the Machine
Your Toyota sewing machine comes with essential accessories to enhance your sewing experience. These include various presser feet for specialized stitching, additional needles, a bobbin case, and a seam ripper. The package may also contain a dust cover and an instructional DVD. These accessories help you tackle different fabrics and techniques, ensuring versatility and convenience for all your sewing projects and needs.
Threading the Machine
Threading the Toyota sewing machine requires careful attention to the spool, handwheel, and tension. Always turn off the machine before threading to prevent accidents and ensure proper setup.
4.1 Step-by-Step Threading Process
Turn off the machine and unplug it for safety.
Locate the spool pin and guide the thread through the tension discs.
Pass the thread through the take-up lever and needle bar.
Insert the thread into the needle, leaving a small loop.
Gently pull the thread to set the tension and ensure proper threading.
4.2 Common Threading Mistakes to Avoid
Ensure the machine is turned off before threading to prevent accidents. Avoid twisting or pulling the thread excessively, as this can cause tangles or uneven tension. Do not skip the tension discs, as this may lead to inconsistent stitching. Properly guide the thread through each designated path to maintain smooth operation. Incorrect threading can result in broken threads or misaligned stitches, affecting the quality of your work.
Setting Up the Machine
Place the Toyota sewing machine on a stable, flat surface. Ensure proper alignment and adjust the machine for optimal performance before use for best results.
5.1 Placing the Machine on a Stable Surface
Place the Toyota sewing machine on a flat, stable surface to ensure smooth operation. Avoid uneven or vibrating areas. Keep it away from water and moisture to prevent damage. Ensure the machine is not exposed to direct sunlight to avoid overheating. Position it in a well-ventilated area for optimal performance. Use a dedicated sewing table if possible for better control and precision.
5.2 Adjusting the Machine for Optimal Use
Adjust the Toyota sewing machine by ensuring proper tension settings for your fabric type. Align the presser foot evenly and check the bobbin area for correct threading. Refer to the manual for specific tension guidelines. Always turn off the machine before making adjustments to avoid accidents. Proper alignment ensures even stitching and prevents fabric damage during sewing sessions.
Basic Sewing Operations
Begin by turning off the machine and threading it properly. Start with a straight stitch, ensuring fabric is aligned. Practice on scrap material for consistent results.
6.1 Sewing a Straight Line
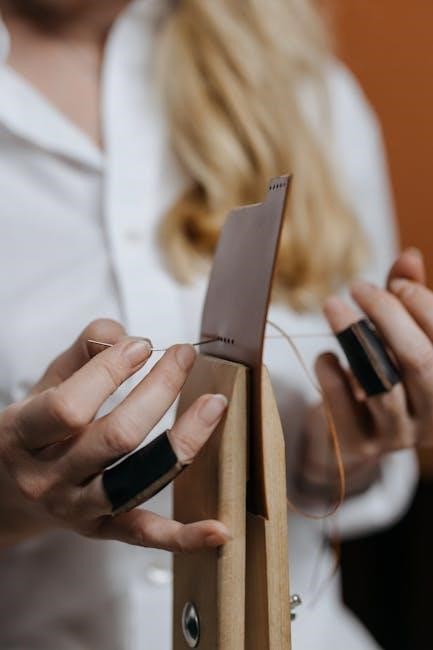
To sew a straight line, ensure the machine is properly threaded and the correct stitch is selected. Place the fabric under the presser foot, aligning the edge with the guide. Gently hold the fabric steady and slowly press the pedal. Maintain consistent speed and keep fabric taut. Use the edge guide for straight alignment. Practice on scrap fabric to master the technique. Regular practice improves accuracy and control, ensuring professional-looking seams. Always secure the end with a backstitch for durability. For additional guidance, refer to online tutorials or sewing communities for tips and troubleshooting common issues.
6.2 Backstitching for Secure Seams
Backstitching ensures strong and durable seams by sewing a few stitches in reverse. Start by sewing forward a few stitches, then reverse direction using the backstitch button or lever. This reinforces both ends of the seam. For thick fabrics, use a slower speed to maintain control. Keep the fabric taut to avoid puckering. Backstitching prevents fraying and adds professionalism to your projects. Regular practice enhances your stitching accuracy and overall sewing quality.
Maintenance and Troubleshooting
Ensure regular cleaning, oiling moving parts, and checking for loose screws are essential. Troubleshoot common issues like thread breakage or skipped stitches for optimal performance.
7.1 Regular Maintenance Tips
Regular maintenance is crucial for extending the life of your Toyota sewing machine. Oil moving parts periodically to ensure smooth operation. Clean the bobbin area and tension discs with a soft brush to remove lint. Check and tighten screws if loose. Perform these tasks after extended use to prevent dust and debris buildup. Refer to your manual for specific maintenance intervals and recommendations.
7.2 Common Issues and Solutions
Common issues with the Toyota sewing machine include skipped stitches, uneven tension, and thread breakage. Skipped stitches often result from a dull or incorrect needle size—replace the needle to resolve this. Uneven tension can be adjusted by tweaking the bobbin and upper thread settings. For thread breakage, ensure proper threading and check for lint buildup. Regular cleaning and oiling can prevent many of these issues. Always refer to the manual for specific troubleshooting steps.
Advanced Sewing Techniques
Master advanced sewing techniques such as sewing curves, complex patterns, and utilizing specialized feet for precise stitching and professional-grade results with your Toyota sewing machine.
8.1 Sewing Curves and Complex Patterns
Sewing curves and complex patterns requires precision and control. Use the Toyota sewing machine’s adjustable stitch length and tension to handle delicate fabrics. Opt for the quilting foot for visibility and smooth fabric movement. Guide the fabric steadily, turning gradually to maintain consistent curves. For intricate patterns, break them into smaller sections, sewing step-by-step for professional results.
8.2 Using Specialized Feet and Attachments
Specialized feet and attachments enhance sewing precision for various tasks. The quilting foot provides clear visibility for intricate patterns, while the zipper foot simplifies zipper installations. Use the blind hem foot for invisible hems and the walking foot for thick fabrics. Attachments like the edge joining guide ensure straight seams. Always refer to the manual for model-specific compatibility and installation instructions to maximize your sewing machine’s versatility.

Customizing Your Sewing Experience
Customize your sewing experience by adjusting tension for different fabrics and personalizing stitch length and width to achieve desired results for various sewing projects.
9.1 Adjusting Tension for Different Fabrics
Adjusting the tension on your Toyota sewing machine is crucial for achieving balanced stitches. Different fabrics, like cotton or silk, require specific tension settings. Refer to the manual for guidance on setting the correct tension for your fabric type. Proper tension ensures even stitching and prevents puckering or loose threads. Always test your stitches on a scrap piece before starting your project.
9.2 Personalizing Stitch Length and Width
Customizing stitch length and width on your Toyota sewing machine allows for tailored results. Use the control panel to adjust settings based on fabric type and desired seam strength. Longer stitches are ideal for thick fabrics, while shorter ones suit delicate materials. Adjusting stitch width enhances decorative effects or ensures tight seals. Always test settings on scrap fabric before sewing your final project for optimal results.
Resources for Further Learning
Explore online tutorials, sewing communities, and forums for advanced techniques and troubleshooting. Visit Toyota’s official website for detailed guides and support resources.
10.1 Recommended Online Tutorials
YouTube offers step-by-step guides for mastering Toyota sewing machine operations. Toyota’s official website provides video tutorials covering basic stitching to advanced techniques. Sewing blogs and forums share user-friendly explanations, while specialized crafting channels demonstrate creative projects. These resources help users improve their sewing skills and troubleshoot common issues effectively. Explore these platforms to enhance your sewing experience with the Toyota machine.
10.2 Suggested Sewing Communities and Forums
Join sewing communities like PatternReview, QuiltingHub, and Sewing Parts Online for expert advice and shared experiences. These forums offer troubleshooting tips, project ideas, and user-generated tutorials specific to Toyota machines. Engage with fellow sewists to resolve issues and discover new techniques, enhancing your sewing journey with collective knowledge and support from passionate enthusiasts.
Warranty and Support Information
Your Toyota Sewing Machine is backed by a limited warranty. Refer to the user manual for details on coverage and contact Toyota support for assistance or repairs.
11.1 Understanding Your Warranty Coverage
Your Toyota Sewing Machine is protected by a limited warranty, typically covering parts and labor for a specified period. Review the manual for exact terms, as coverage varies by model. Registration may be required to activate warranty benefits. The warranty generally includes repairs for defective parts but excludes damage caused by misuse or normal wear. Keep your proof of purchase for warranty claims.
11.2 Contacting Toyota Support
For assistance with your Toyota Sewing Machine, visit the official Toyota website for contact information. Support options include phone, email, or live chat. Ensure to have your machine’s model number ready for efficient service. Additionally, the website offers downloadable manuals and troubleshooting guides. For further help, explore specialized sewing forums or communities where users share tips and solutions.
Environmental Considerations
Proper disposal of sewing machine parts and eco-friendly practices are essential for sustainability. Follow guidelines for recycling and reducing waste to promote environmentally responsible sewing machine ownership.
12.1 Proper Disposal of Sewing Machine Parts
Dispose of sewing machine parts responsibly by separating metal, plastic, and electronic components. Check local regulations for recycling options. Many centers accept textiles and machinery; Battery disposal requires special care to prevent environmental harm. Always consult local guidelines for eco-friendly practices. Proper disposal ensures sustainability and reduces waste, promoting a greener environment for future generations; Recycle whenever possible to conserve resources and minimize landfill impact.
12.2 Eco-Friendly Sewing Practices
Adopt eco-friendly sewing practices by utilizing reusable fabrics, minimizing waste, and choosing energy-efficient settings on your Toyota sewing machine. Use natural threads and opt for sustainable materials. Regular maintenance ensures optimal energy use. Consider repurposing old fabrics and donating leftover materials. Reduce your environmental footprint by implementing these mindful sewing habits, promoting sustainability while creating high-quality projects. Eco-conscious practices benefit both the planet and your craft.
Mastering your Toyota sewing machine involves understanding its features, maintaining it properly, and troubleshooting common issues. Continuous learning will enhance your sewing experience and skills.
13.1 Summary of Key Takeaways
The Toyota sewing machine user manual provides essential guidance for safe operation, threading, and maintenance. Understanding its features, proper setup, and troubleshooting enhances sewing efficiency and longevity, ensuring optimal performance for various fabric types and stitching needs while promoting eco-friendly practices and continuous skill improvement.
13.2 Encouragement for Continuous Learning
Continuous learning enhances your sewing skills and creativity. Explore advanced techniques, online tutorials, and sewing communities to refine your craft. Regular practice and experimentation with different fabrics and stitches will boost confidence and mastery of the Toyota sewing machine, unlocking new possibilities for personalized projects and professional-quality results.