htv temperature guide
HTV Temperature Guide: A Comprehensive Overview (Updated 02/11/2026)
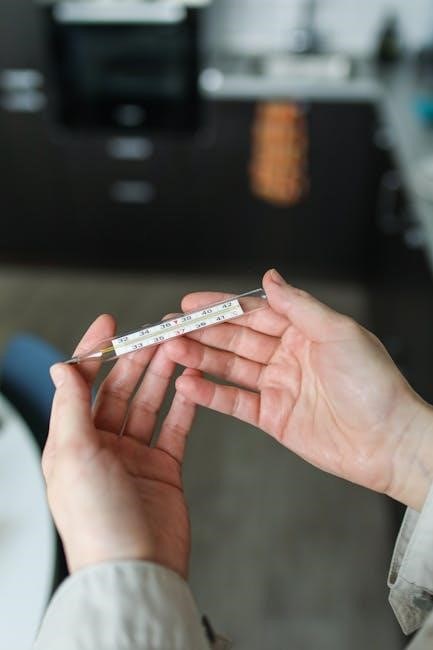
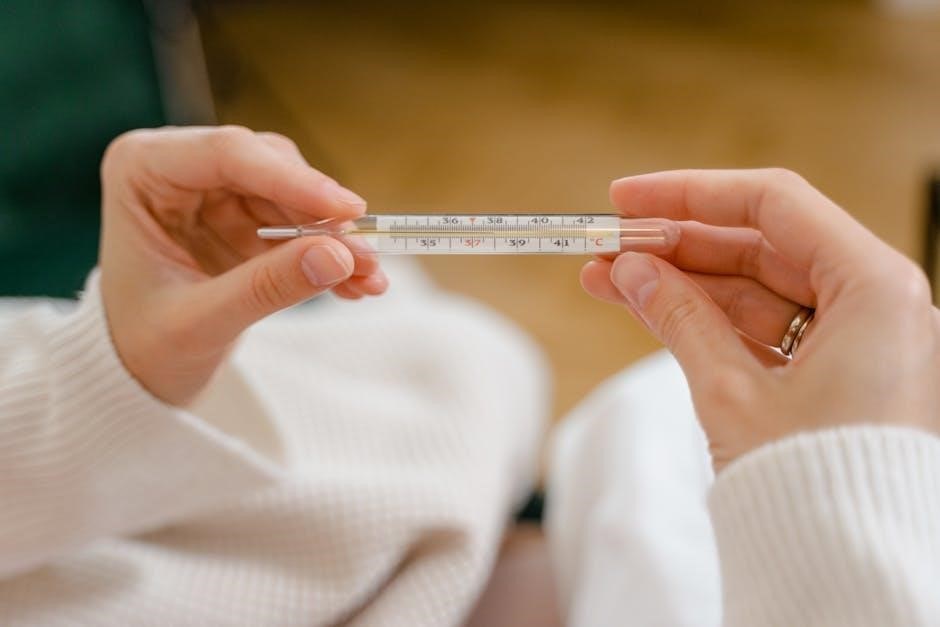
Temperature is key for vibrant, durable HTV results․ Optimal heat ensures effective bonding, with settings ranging from 270°F to 385°F, depending on the vinyl type and fabric․
Understanding the Importance of Temperature
Temperature is the primary setting in heat pressing, fundamentally influencing the heat transfer process․ Achieving the optimal temperature isn’t merely about adhesion; it dictates the vibrancy, longevity, and overall professional quality of your finished product․ Insufficient heat leads to weak bonds, resulting in peeling or fading after washing․ Conversely, excessive heat can scorch fabrics or even damage the HTV itself, causing discoloration or a brittle texture․
The correct temperature ensures the HTV’s adhesive layer melts and fully integrates with the fabric fibers․ This molecular bonding creates a durable, washable design․ Different HTV types – standard, glitter, flock, stretch, or low-temp – each require specific temperature ranges to activate their adhesive properties effectively․ Understanding these nuances is crucial for successful application, especially when working with varied materials like cotton, polyester, or heat-sensitive blends․
The Role of Temperature in Heat Transfer
Temperature directly governs the efficiency of heat transfer during HTV application․ Heat initiates a crucial chemical reaction within the HTV’s adhesive, transforming it from a solid state to a tacky, molten state․ This allows it to penetrate and bond with the target fabric’s fibers․ The heat press provides consistent, controlled thermal energy, facilitating this process․
Without sufficient temperature, the adhesive remains insufficiently activated, resulting in a superficial bond prone to failure․ Conversely, exceeding the recommended temperature can cause the adhesive to burn, altering its composition and weakening the bond․ The transfer process relies on a delicate balance; the heat must be high enough to activate the adhesive but low enough to prevent material degradation․ Proper temperature ensures the HTV’s design becomes an integral part of the fabric, not just an attachment․
Factors Affecting Optimal Temperature
Several variables influence the ideal HTV application temperature․ The HTV’s composition is paramount; standard, glitter, flock, and stretch HTVs each require distinct thermal profiles․ Fabric type is equally critical – cotton, polyester, rayon, and blends react differently to heat․ Thicker fabrics may necessitate slightly higher temperatures for adequate penetration․
Furthermore, the heat press itself plays a role․ Calibration is essential to ensure accurate temperature readings․ Consistent pressure and dwell time are also intertwined with temperature, forming a “temperature triangle” for successful bonding․ Even the color of the HTV can subtly affect temperature needs, with darker colors potentially absorbing more heat․ Finally, layering HTV requires temperature adjustments to prevent adhesive bleed-through and ensure each layer adheres correctly․ Careful consideration of these factors is vital․
Types of HTV and Corresponding Temperatures
Different HTV types demand specific temperatures for optimal adhesion․ Standard, low-temp, stretch, glitter, and flock HTVs each have unique thermal requirements for lasting results․
Standard HTV Temperature Settings
Standard Heat Transfer Vinyl (HTV) is the most versatile and widely used type, making it a great starting point for many projects․ Generally, a temperature range of 305°F to 315°F (152°C to 157°C) is recommended for both cotton and polyester fabrics․ However, always refer to the specific HTV manufacturer’s instructions, as slight variations can occur․
Successful application with standard HTV relies on a balanced approach․ Too low a temperature can result in poor adhesion, leading to peeling or fading after washing․ Conversely, excessive heat can scorch the fabric or cause the HTV to bubble and distort․ A dwell time of 10-20 seconds, with medium pressure, is typically advised․
Proper temperature calibration of your heat press is crucial for consistent results․ Using a Teflon sheet or parchment paper protects both the HTV and the heat press platen․ Remember, these settings are guidelines; testing a small sample is always recommended before committing to a full production run․
Low-Temperature HTV: When and Why to Use It
Low-temperature HTV is specifically designed for delicate fabrics that cannot withstand high heat․ This includes materials like rayon, silk, and 100% polyester, or garments labeled “cool iron only․” Using standard HTV on these fabrics risks melting or damaging them․ Typically, low-temp HTV requires temperatures around 270°F ౼ 285°F (132°C ⸺ 135°C), but always check the manufacturer’s recommendations․
The benefit of low-temp HTV extends beyond fabric protection; it’s also ideal for layering projects where minimizing heat buildup is essential․ It prevents the bottom layers from re-activating and potentially distorting․ While it requires lower heat, it doesn’t compromise adhesion when used correctly․
Ensure your heat press is accurately calibrated and use a Teflon sheet to distribute heat evenly․ A slightly longer press time might be needed compared to standard HTV to achieve a secure bond․

Stretch HTV: Temperature Considerations for Flexibility
Stretch HTV is engineered for garments with high elasticity, like spandex, lycra, and swimwear․ Maintaining the fabric’s stretchability is paramount, requiring careful temperature control․ Unlike standard HTV, which prioritizes strong adhesion, stretch HTV focuses on moving with the fabric without cracking or peeling․
Generally, a temperature range of 305°F ౼ 320°F (152°C ౼ 160°C) is recommended, but always defer to the HTV manufacturer’s guidelines․ Lower temperatures can result in poor adhesion, while excessive heat can diminish the fabric’s elasticity․ A shorter press time is often advised to minimize heat exposure․
Proper application involves a firm, even pressure and a Teflon sheet․ Testing a small sample is crucial to confirm the HTV’s stretch and washability before committing to a full design․ Consider a “cold peel” rather than a hot peel for optimal results․
Glitter HTV: Achieving Optimal Adhesion with Heat
Glitter HTV presents unique adhesion challenges due to its thicker, textured surface․ Achieving a secure bond requires a balance of sufficient heat and appropriate pressure․ Typically, a temperature range of 305°F ⸺ 320°F (152°C ⸺ 160°C) is recommended, but variations exist based on the glitter particle size and adhesive type․
A slightly longer press time – around 15-20 seconds – is often necessary to ensure the adhesive fully melts and penetrates the fabric fibers․ Firm, consistent pressure is vital; insufficient pressure can lead to glitter flaking․ Always use a Teflon sheet to protect both the HTV and the heat press platen․
Hot peeling is generally preferred for glitter HTV, but confirm the manufacturer’s instructions․ A test press is crucial to verify adhesion and glitter integrity before applying the full design․ Consider a second, brief press with a Teflon sheet for added security․
Flock HTV: Temperature Control for a Velvety Finish
Flock HTV, known for its soft, velvety texture, demands precise temperature control․ Unlike standard HTV, flock requires lower temperatures to prevent the fibers from melting or distorting․ A recommended range is typically 285°F ౼ 305°F (140°C ౼ 152°C), though always consult the manufacturer’s specifications․
Press time should be around 10-15 seconds with medium pressure․ Avoid excessive heat, as this will ruin the flock’s characteristic texture․ A Teflon sheet is essential to protect the flock fibers from direct contact with the heat press platen․ Cold peel is generally recommended to prevent lifting․
Proper temperature calibration is crucial for consistent results with flock HTV․ Test presses are highly recommended to fine-tune settings for specific fabrics and flock types․ Gentle handling after pressing will help preserve the velvety finish․
Temperature Ranges for Different Materials
Fabric choice impacts optimal HTV temperature․ Cotton needs higher heat, while polyester requires adjustments․ Delicate fabrics like rayon demand low-temperature HTV for safe application․
Cotton Fabrics: Recommended HTV Temperatures
For standard HTV application on cotton fabrics, a temperature range of 305°F to 315°F (152°C to 157°C) generally yields the best results․ This range provides sufficient heat to activate the adhesive on the HTV, ensuring a strong and lasting bond with the cotton fibers․ However, slight adjustments may be necessary based on the specific type of HTV and the weight of the cotton material․
Heavier cottons, like sweatshirts or canvas, may benefit from the higher end of the temperature range, while lighter-weight cottons, such as t-shirt material, might perform better with a slightly lower temperature․ Always perform a test press on a scrap piece of fabric to verify the optimal setting before applying the HTV to your final project․ Consistent pressure and appropriate pressing time (typically 10-20 seconds) are also crucial for successful adhesion to cotton․
Remember to consider the color of the cotton; darker colors absorb heat more readily, potentially requiring a slight temperature reduction to prevent scorching․
Polyester Fabrics: Adjusting Temperature for Best Results
Polyester requires lower temperatures compared to cotton when applying HTV․ Typically, a range of 285°F to 320°F (140°C to 160°C) is recommended․ Polyester has a lower melting point than cotton, making it susceptible to damage or distortion with excessive heat․ Using too high a temperature can cause the polyester fibers to melt or the HTV to bubble and peel․
It’s crucial to select a temperature within this range based on the specific polyester fabric․ Microfiber polyester, for example, often requires a lower temperature than thicker polyester blends․ Always conduct a test press on a scrap piece to determine the ideal setting․
Lower temperatures also help prevent color bleeding or fading in dyed polyester fabrics․ Combine the adjusted temperature with appropriate pressure and pressing time (around 10-15 seconds) for optimal and durable HTV adhesion․
Rayon, Silk & Heat-Sensitive Fabrics: Low-Temperature HTV Guide
Delicate fabrics like rayon and silk necessitate the use of low-temperature HTV and careful heat application․ These materials are easily damaged by high heat, potentially causing scorching, melting, or discoloration․ Always check the garment’s care label; if it specifies “cool iron,” low-temperature HTV is essential․
Recommended temperature ranges typically fall between 265°F to 285°F (130°C to 140°C), but testing is vital; Use a pressing cloth (like parchment paper or a Teflon sheet) to provide a protective barrier between the HTV, heat press, and the fabric․
Reduce pressing time to 5-10 seconds and use light to medium pressure․ Low-temperature HTV is specifically formulated to bond effectively at these lower settings, ensuring a secure and lasting application without compromising the fabric’s integrity․
Blends (Cotton/Polyester): Finding the Right Balance
Cotton/polyester blends are incredibly common, requiring a balanced approach to HTV application․ Unlike 100% cotton or polyester, blends demand a temperature that effectively bonds to both fiber types․ A temperature range of 305°F to 315°F (152°C to 157°C) generally works well, but the specific ratio of cotton to polyester influences the ideal setting․

Higher polyester content leans towards lower temperatures, while a higher cotton percentage may require slightly increased heat․ Always start with a test application on a scrap piece of the blended fabric․
Consider a medium pressure and pressing time of 10-15 seconds․ Monitoring the HTV’s adhesion and the fabric’s reaction is crucial to achieving a durable, professional finish without causing damage or peeling․
Heat Press Settings & Troubleshooting
Accurate calibration, proper pressure, and timing are vital․ Issues like under-pressing or over-pressing can occur; careful adjustments ensure optimal HTV adhesion and fabric protection․
Temperature Calibration: Ensuring Accuracy
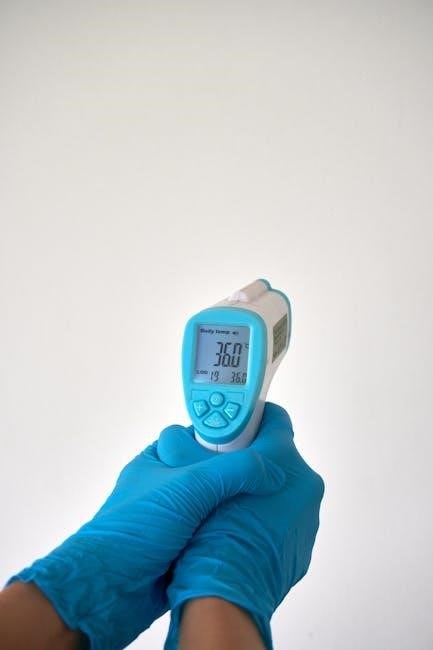
Precise temperature control is paramount for successful HTV application․ Heat presses aren’t always perfectly calibrated out of the box, and drift can occur over time with consistent use․ Regularly verifying your heat press’s temperature is crucial for consistent results․ An inexpensive infrared thermometer is a valuable tool; aim it at the platen surface to check the actual temperature against the set temperature․
Discrepancies are common, and most presses allow for temperature adjustments․ Carefully adjust the settings until the reading on the thermometer matches your desired temperature․ Remember to allow the press to fully heat up before taking a reading․ Consistent calibration prevents under-pressing, leading to poor adhesion, or over-pressing, which can scorch fabrics or damage the HTV itself․ Accurate temperature equals professional-quality transfers, minimizing waste and maximizing durability․
Under-Pressing: Signs and Solutions
Under-pressing occurs when insufficient heat and pressure are applied, resulting in poor HTV adhesion․ Common signs include peeling edges, a cloudy or faded appearance of the design, and the HTV lifting after washing․ The transfer hasn’t fully bonded with the fabric fibers․
Solutions are straightforward: First, double-check your temperature settings and ensure they align with the HTV and fabric type․ Increase the pressing time by a few seconds․ Apply firmer, more consistent pressure – ensure even distribution across the entire design․ If issues persist, slightly increase the temperature in small increments (5-10°F) and re-test․ A Teflon sheet can also help distribute heat more evenly․ Always allow the garment to cool completely before peeling to assess the bond’s strength․ Correcting under-pressing ensures a durable, long-lasting design․
Over-Pressing: Avoiding Damage to HTV and Fabric
Over-pressing happens when excessive heat or pressure is used, potentially damaging both the HTV and the fabric․ Signs include a burnt or scorched appearance on the fabric, melting or distorting of the HTV (especially glitter or flock), and a stiff or brittle feel to the design․ The adhesive can also break down, leading to a compromised bond․
Prevention is crucial: Always adhere to the manufacturer’s recommended temperature settings for both the HTV and the fabric․ Start with lower settings and gradually increase if needed․ Reduce pressing time – shorter durations minimize heat exposure․ Use a Teflon sheet to protect the HTV and fabric from direct heat․ Avoid excessive pressure; a firm, even press is sufficient․ Regularly calibrate your heat press to ensure accurate temperature readings․ If over-pressing occurs, unfortunately, the damage is often irreversible, highlighting the importance of careful monitoring;
Pressure and Time: The Temperature Triangle
Successful HTV application relies on a delicate balance between temperature, pressure, and time – often referred to as the “temperature triangle․” These three elements are interconnected; adjusting one necessitates adjusting the others․ Temperature initiates the adhesive bond, pressure ensures consistent contact for even transfer, and time allows the adhesive to fully activate and adhere to the fabric․

Insufficient pressure can lead to a weak bond, while excessive pressure might cause HTV distortion․ Too little time results in incomplete adhesion, and too much can damage the HTV or fabric․ Generally, standard HTV requires medium to firm pressure for 10-20 seconds at the recommended temperature․ Low-temp HTV may need slightly longer times․ Experimentation is key, but always prioritize starting with lower settings and gradually increasing until optimal results are achieved․ Understanding this triangle is vital for professional-quality heat pressing․
Advanced Temperature Techniques
Mastering HTV involves layering adjustments, utilizing Teflon for even heat, and pre-pressing fabrics․ These techniques optimize bonding and protect both HTV and materials․
Layering HTV: Temperature Adjustments for Multiple Layers
When layering Heat Transfer Vinyl (HTV), adjusting the temperature is crucial for a successful and durable application․ Each additional layer requires a slight increase in temperature and/or pressing time to ensure proper adhesion without compromising the integrity of the underlying layers․
Generally, it’s recommended to start with the temperature recommended for the base HTV and increase it by approximately 5-10°F (2-5°C) for each subsequent layer․ However, always test on a scrap piece of fabric first! This prevents potential issues like peeling or bubbling․

Furthermore, reducing the pressing time slightly with each layer can help prevent over-pressing and potential damage to the HTV or fabric․ Using a Teflon sheet or parchment paper between layers can also aid in even heat distribution and prevent sticking․ Careful temperature control is key to achieving a clean, professional layered HTV design․
Using Teflon Sheets: Temperature Distribution and Protection
Teflon sheets are indispensable tools when working with HTV, playing a vital role in both temperature distribution and protecting your heat press and materials․ Placing a Teflon sheet over your HTV design ensures even heat application, preventing hot spots that could cause scorching or uneven adhesion․ This is particularly important for glitter or flock HTV, which require consistent heat for optimal bonding․
Beyond heat distribution, Teflon sheets shield your heat press platen from any potential adhesive transfer from the HTV․ This keeps your platen clean and prevents future projects from being contaminated․ They also protect the HTV itself from direct contact with the hot platen, minimizing the risk of melting or distortion․
Reusable and easy to clean, Teflon sheets are a small investment that significantly improves the quality and longevity of your HTV projects․
Pre-Pressing: Preparing the Fabric for Optimal Bonding
Pre-pressing your fabric is a crucial, often overlooked, step in achieving a professional and durable HTV application․ This process involves briefly applying heat to the garment before applying the HTV, serving several important functions․ Primarily, pre-pressing removes moisture and wrinkles from the fabric, creating a smooth, even surface for optimal adhesion․
Moisture can hinder the bonding process, while wrinkles can create uneven pressure and prevent the HTV from fully adhering․ A quick pre-press also helps to shrink the fabric to its final size, preventing distortion after the HTV is applied․
Typically, a pre-press of 3-5 seconds at the recommended temperature for your fabric is sufficient․ This simple step dramatically improves the final result, ensuring a long-lasting and professional-looking heat transfer․